How to Plan a Garden Path: Width, Layout and Positioning
Planning a garden path? Discover practical advice on width, layout, positioning, drainage and materials to create a walkway that works with your garden.
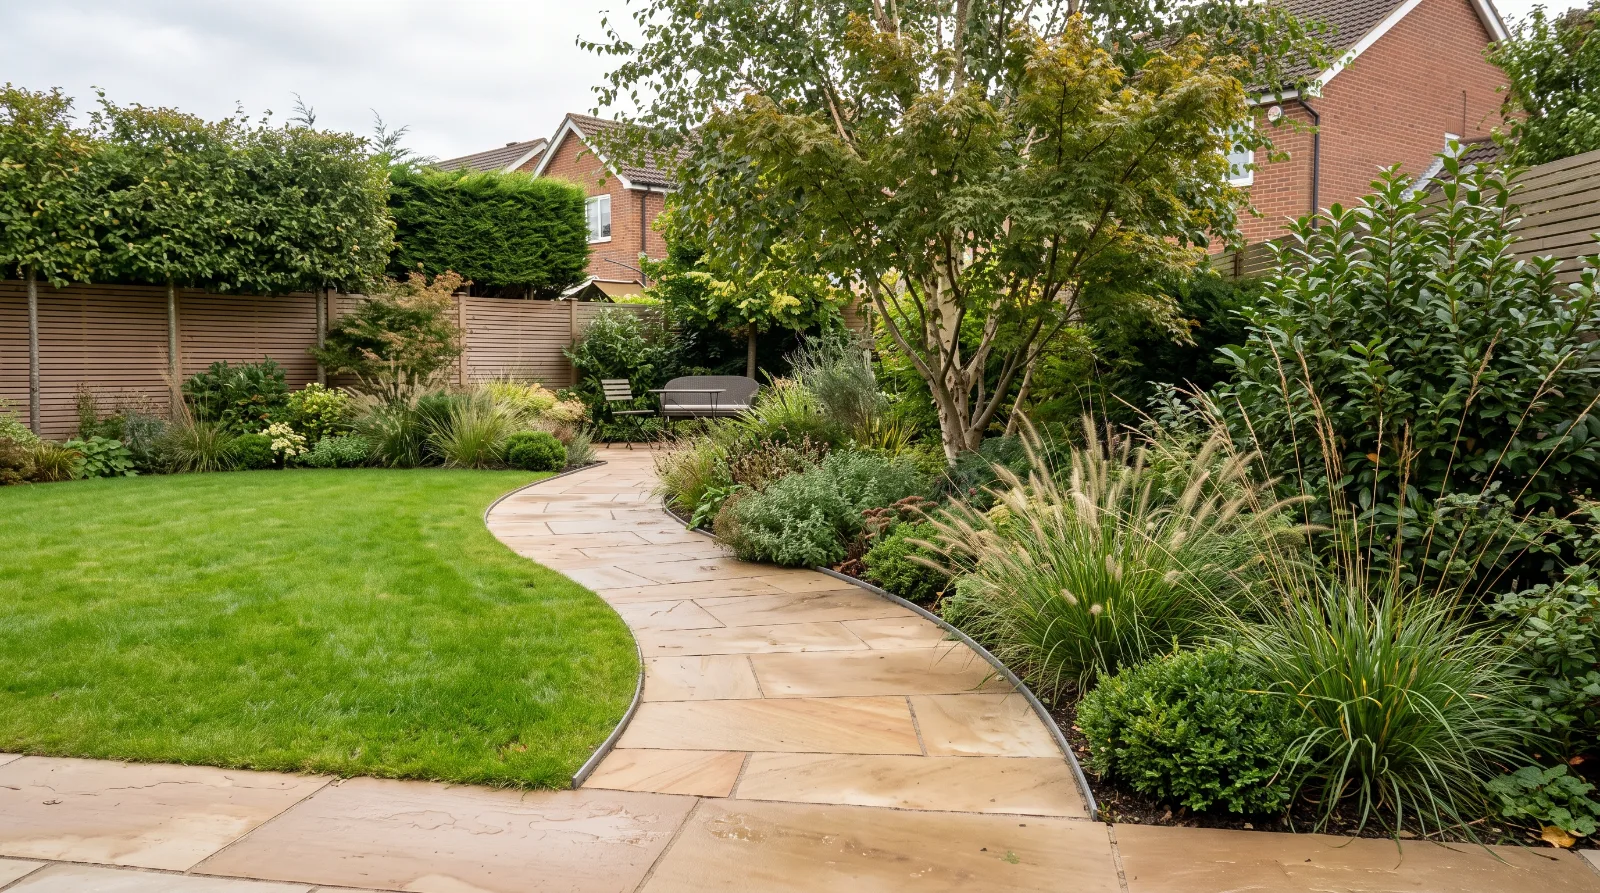
A well-planned garden path makes an outdoor space easier to use while helping the entire garden feel more connected. It creates a clear route between the house, patio, lawn, planting areas and other features, while contributing to the overall design.
However, choosing a path involves more than deciding between gravel and paving. Its width, position, shape and levels all affect how comfortable it is to use and how well it fits into the garden.
A path that is too narrow can feel awkward, while a poorly positioned route may cut across planting beds or create unnecessary detours. Getting these decisions right before installation can prevent costly adjustments later.
In this guide, we explain how to plan a garden path, choose a practical width, decide where it should go and create a layout that works with the rest of your garden.
1. Decide Where Your Garden Path Needs to Go
The first step is to identify the places the path needs to connect. Think about how you currently move around the garden and which areas you use most frequently.
A main path might connect the back door to a patio, while a secondary route could lead to a shed, side gate, greenhouse or seating area. The layout should reflect these everyday activities rather than forcing you to take an inconvenient route.
Follow the natural walking route
Look at where people already walk through the garden. Worn patches in the lawn or muddy sections beside a flower bed may reveal the most natural route between two points.
You can test a proposed path layout before committing to it by marking the route with a garden hose, string or temporary stakes.
Walk along the marked route and consider whether it feels direct and comfortable. Try carrying a watering can or pushing a wheelbarrow along it if these are normal activities in your garden.
A path should guide people naturally through the space rather than make them want to take shortcuts across the lawn.
Think about where the path leads
Consider what people will see and experience as they walk along the path. A route leading towards a patio or seating area should feel welcoming, while a functional path to a bin store or shed may benefit from a more direct layout.
In larger gardens, a path can also connect different areas, such as an outdoor dining space, planting borders and a secluded seating area. The route should make these spaces feel connected without dividing the garden unnecessarily.
2. How Wide Should a Garden Path Be?
The ideal width depends on how the path will be used, how much space is available and whether one or two people need to walk along it together.
For many residential gardens, around 900mm to 1.2 metres is a useful starting point for a frequently used path. A wider route can feel more comfortable, particularly near the house or patio.
Type of garden path | Practical starting width |
|---|---|
Narrow, occasional path through planting | 600–900mm |
Main route for everyday use | 900–1,200mm |
Path for two people walking side by side | 1,200–1,500mm |
Route intended for wheelchair or mobility-aid use | Design around the user's needs, with a wider, firm and even surface and adequate turning space |
These measurements are general planning guides rather than universal requirements. An accessible path may need additional width, passing space, appropriate gradients and a suitable surface, depending on the user and setting.
Allow room for planting and edging
One common mistake is measuring the path between its planned edges without considering how much usable space will remain once the garden is established.
Plants can spread over the edges, gravel may need retaining edging, and raised borders can make a narrow path feel more confined.
When measuring the width, think about the clear walking space, not just the overall area occupied by the path. If a route needs to accommodate a wheelbarrow or pushchair, check that it can pass comfortably without catching on planting or fencing.
Consider how the path will be used in the future
A narrow path may be sufficient for occasional access to a flower bed, but it might become inconvenient if the garden is later redesigned to include a larger patio, garden room or outdoor kitchen.
Planning for likely future uses can help you avoid having to widen the path after other landscaping work has been completed.
3. Should Your Garden Path Be Straight or Curved?
The shape of a path influences both its appearance and how people move through the garden.
Neither a straight nor a curved layout is automatically better. The choice should reflect the garden's dimensions, style and purpose.
Straight paths for a defined layout
Straight paths work particularly well in formal gardens and contemporary landscapes. They create clear lines, provide direct access between key areas and can complement square patios, rectangular lawns and structured planting.
A straight route is often practical when connecting a back door to a seating area or providing convenient access along the side of a house.
It can also help organise a smaller garden by establishing a clear layout without introducing too many competing shapes.
Curved paths for a softer appearance
Curved paths can work well in informal gardens with naturalistic planting, sweeping borders and less rigid layouts.
A gentle curve can guide the eye towards a focal point, such as a specimen tree or seating area. In a larger garden, it can also create a sense of discovery by gradually revealing different parts of the space.
However, curves should have a purpose. A path that meanders unnecessarily may be less convenient to walk along and can require more complicated installation, particularly when using large paving slabs.
Before finalising a curved design, mark it out on the ground and walk the route. This makes it easier to judge whether the shape feels natural or simply adds distance.
4. Position the Path Around Your Garden Features
A garden path should work with the surrounding landscape rather than compete with it.
Consider the position of the lawn, planting beds, mature trees, boundaries, patios and existing structures before deciding where the path will run.
Connect the main areas naturally
A path can link the back door to a patio, create convenient access to a garden room or connect a lawn with a seating area.
Where several destinations need to be reached, consider whether one main path with short branches would be more effective than several separate routes.
This can help keep the design simple and avoid dividing the available lawn and planting space into unnecessary sections.
Work around established trees and planting
Mature trees and established planting can be valuable features in a garden, so their position should influence the route.
Avoid planning a path without considering existing roots, branches and the space plants need to grow. Excavation close to established trees may require particular care, depending on the species, root spread and ground conditions.
For new planting, decide whether the path should pass in front of a border, run alongside it or lead through an opening in the planting scheme.
Leaving sufficient space on both sides can make the finished route feel more integrated with the garden.
Consider views from the house
A path can be an important feature when viewed from a kitchen window, extension or upstairs room.
Think about how the route looks from these viewpoints, especially if it runs across the main lawn or towards a focal feature. Straight lines can introduce structure, while gentle curves may sit more naturally within informal planting.
The aim is to create a path that works well at ground level and contributes to the garden's overall appearance.
5. Plan the Levels and Drainage
The ground beneath and around a path is just as important as its visible surface.
Poor preparation can contribute to sinking, uneven paving and areas where water collects. Planning the levels and drainage before installation helps reduce the likelihood of these problems.
Check the existing ground levels
Walk the proposed route and look for low spots, slopes and areas that regularly become muddy after rainfall.
A path on level ground may require relatively straightforward preparation. A route crossing a slope, however, might need changes in level, suitable steps or a carefully designed gradient.
The design should account for how the path meets existing patios, door thresholds and lawn edges. Abrupt changes in height can create awkward transitions and trip hazards.
Make sure water can drain away
Rainwater should not be left collecting on the path or directed towards the house.
The surface needs appropriate falls, while the construction beneath it must suit the ground conditions and chosen material. A permeable surface may help water pass through, but its effectiveness depends on the underlying soil and drainage arrangements.
On sloping sites or in gardens with persistent waterlogging, additional drainage measures may be needed. The best solution depends on the site and where excess water can be safely directed.
6. Choose a Surface That Suits the Layout
Once the route, width and levels are established, you can choose the most suitable path material.
Gravel, paving, block paving and stepping stones all offer different visual and practical qualities. The choice should reflect the path's intended use, the garden's design and the amount of maintenance you are comfortable with.
Path material | Particularly suitable for |
|---|---|
Gravel | Informal paths, cottage-style gardens and secondary routes |
Porcelain or natural stone paving | Defined paths connecting patios, entrances and seating areas |
Block paving | Structured routes and designs that benefit from smaller individual units |
Stepping stones | Decorative routes through lawns or planting, where appropriate for the intended use |
The surface should also be suitable for the people using it. A loose gravel path may be attractive but can be difficult for some wheelchair users and people using mobility aids. A firm, even surface is generally more practical for frequent everyday access.
For further detail on the advantages of different materials, see our related guide, Gravel vs Paving: Which Is Better for a Garden Path?
7. Don't Forget Lighting and Finishing Details
The final design should consider how the path will look and function once the rest of the garden is complete.
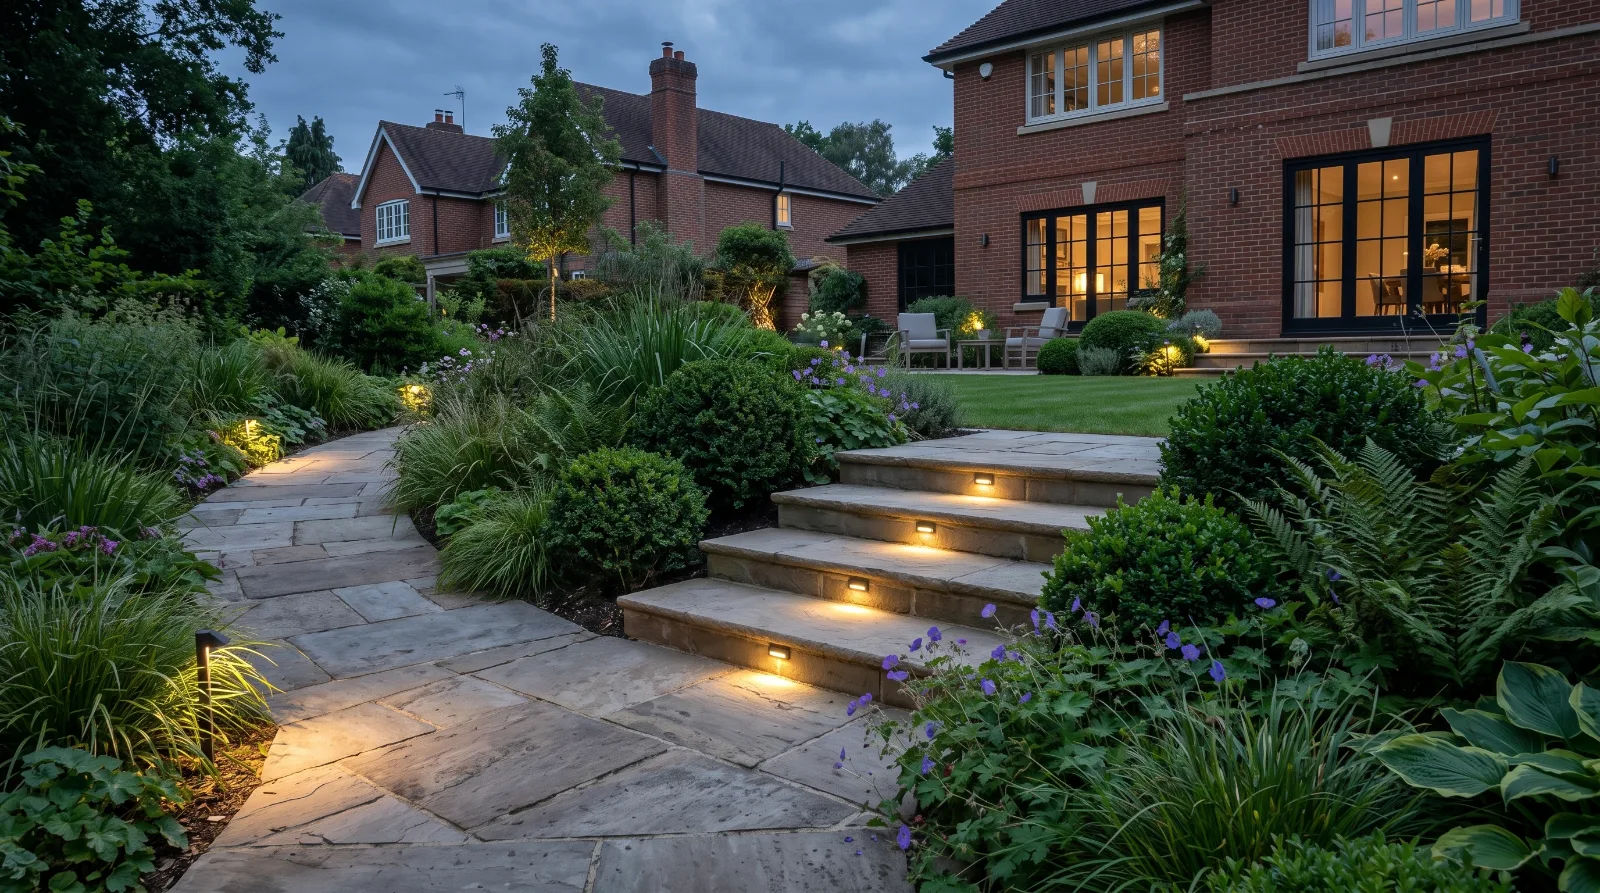
Garden lighting can help illuminate frequently used routes after dark, highlight steps and improve the overall atmosphere. Lights should be positioned carefully to avoid glare and dark patches.
Edging can also help define the route and create a neat transition between the path and surrounding lawn or planting. The choice of edging should complement the path material and the wider garden design.
Where the path connects to a patio, matching or coordinating the surface materials can help the two areas feel like part of the same landscape.
These details are best considered at the planning stage, particularly where lighting cables, drainage or changes in level may affect the installation.
8. Common Garden Path Planning Mistakes to Avoid
A few simple checks can help prevent problems later.
Making the path too narrow: Allow enough usable width for the people and equipment that will use it.
Choosing a route based only on appearance: Make sure it connects the areas you actually need to reach.
Adding unnecessary curves: Use bends where they improve the layout or garden experience.
Ignoring drainage: Check the ground levels and where rainwater will go.
Forgetting about planting growth: Allow room for borders and plants to develop without obstructing the walkway.
Leaving the path disconnected from the design: Consider how it relates to the patio, lawn, fencing and planting.
Taking time to review these details before installation can make the finished path more comfortable, practical and visually cohesive.
Plan Your Garden Path With Surrey Oak Landscapes
A successful garden path starts with a clear understanding of how the space will be used. The right width, route and positioning help make everyday movement easier, while thoughtful materials, drainage and finishing details allow the path to sit naturally within the wider garden.
At Surrey Oak Landscapes, we provide hard landscaping services across Surrey and the surrounding areas. Whether you are planning a simple garden walkway or incorporating new paths into a wider garden transformation, careful design and preparation can make a real difference to the finished result.
About the author