How to Maintain Garden Hedges and Keep Them Neat
Keep your garden hedges neat and healthy with practical advice on trimming times, shaping, watering, preventing bare patches and maintaining different hedge types throughout the year.
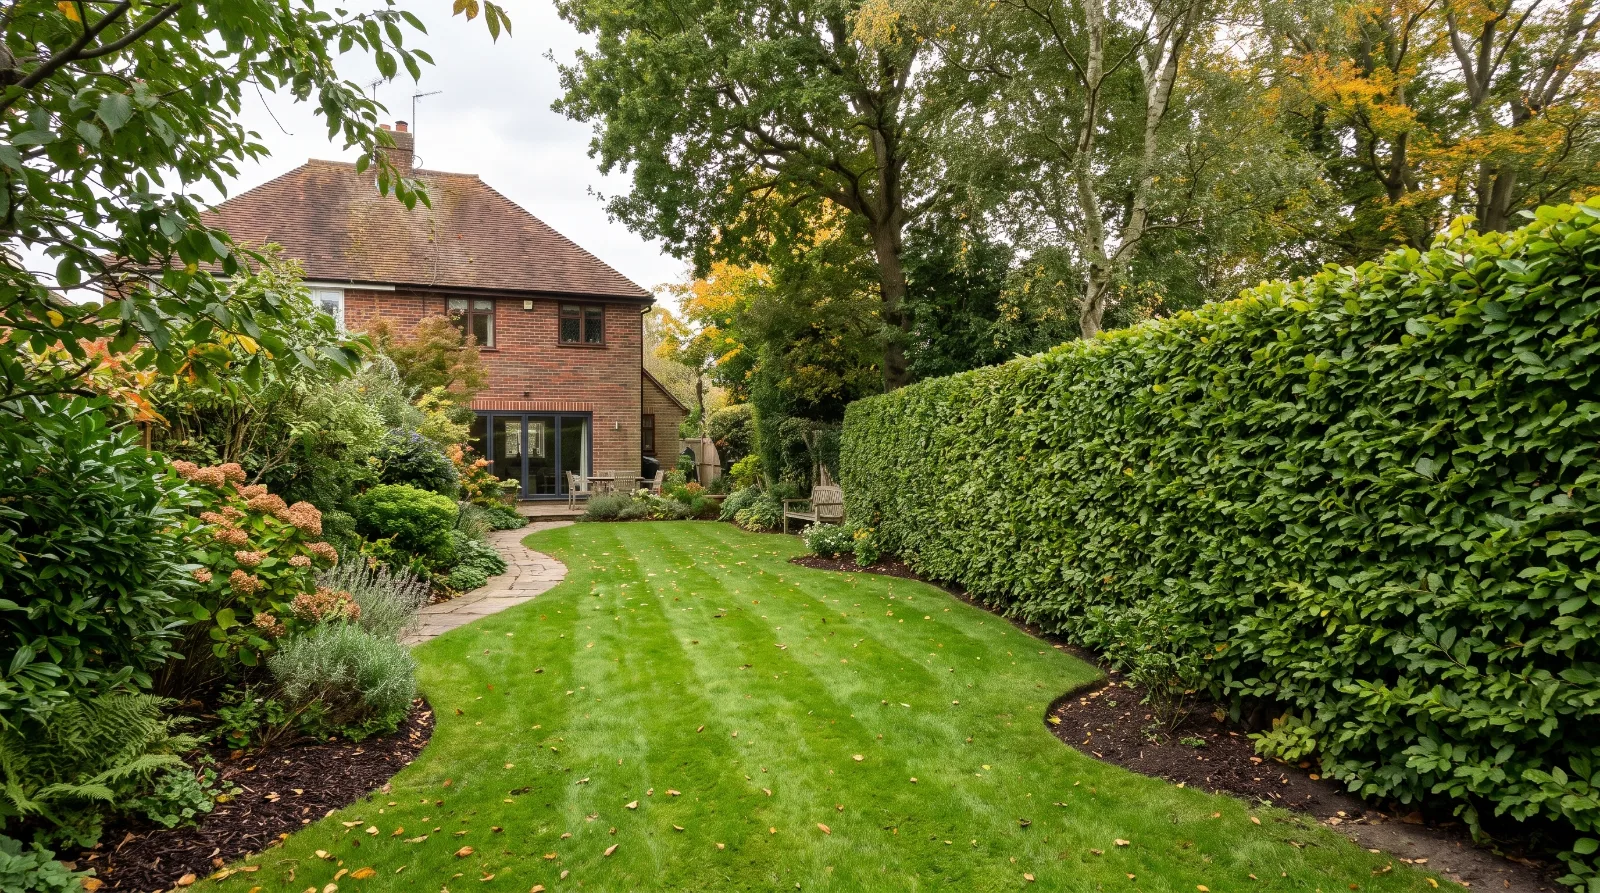
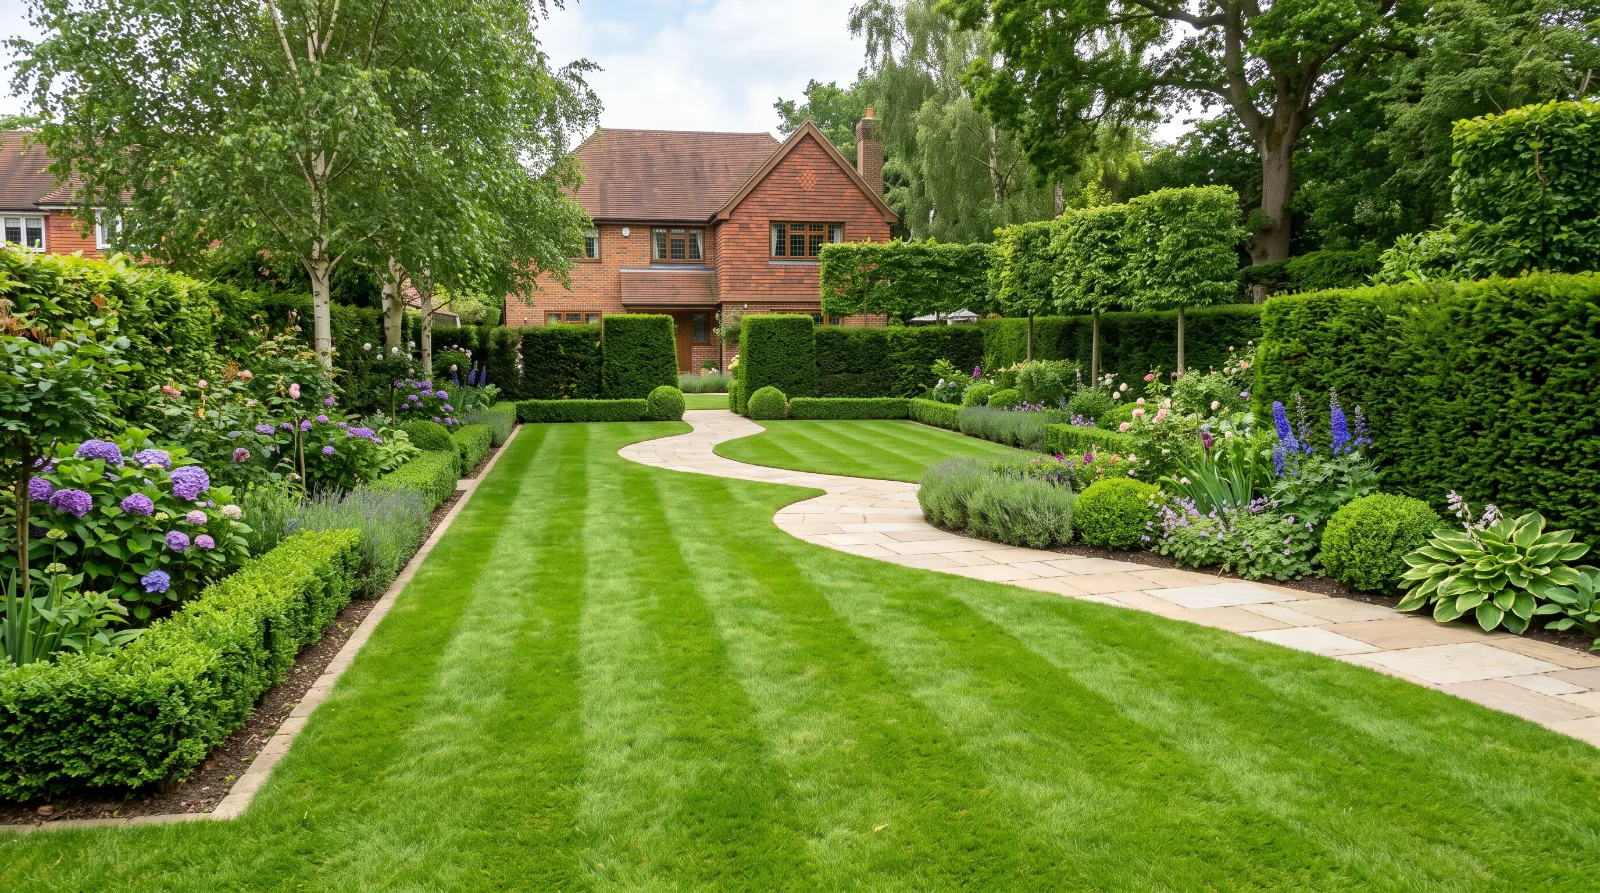
A well-maintained hedge can make a garden feel more private, structured and attractive. It creates a natural boundary, frames lawns and planting beds, and provides a green backdrop for patios and outdoor seating areas. However, when hedges become overgrown, uneven or bare at the base, they can quickly affect the appearance of the whole garden.
Keeping a hedge in good condition involves more than occasional trimming. The right timing, pruning technique and aftercare all influence how densely it grows and how well it retains its shape. Different hedge plants also have different requirements, so a method that works for privet may not be suitable for every evergreen or flowering hedge.
For homeowners in Surrey, a consistent maintenance routine can help prevent hedges from becoming difficult to manage while keeping them healthy and suited to the garden.
1. Know When to Trim Your Hedge
One of the most important parts of hedge maintenance is choosing the right time to trim. Cutting too frequently can remove flowers, berries and useful shelter for wildlife, while leaving a formal hedge unattended for too long can make it difficult to restore a neat shape.
The ideal timing depends on the hedge species, its growth rate and whether you want a formal or informal appearance.
Formal hedges
Formal hedges are maintained to a defined height, width and shape. Fast-growing varieties may need trimming more than once a year, while slower-growing hedges may require less frequent attention.
Regular light trimming is often easier to manage than allowing the hedge to become excessively large and then cutting it back heavily.
Informal hedges
Informal hedges have a more natural appearance and may include flowering or berry-producing shrubs. These often need less frequent trimming, with misplaced or unwanted shoots removed while preserving the plant's natural shape.
If your hedge provides food or shelter for wildlife, consider the effect of trimming on flowers, berries and nesting birds before deciding when to cut it.
Check for nesting birds before every trim
Birds can nest in garden hedges, particularly during the main nesting season, which commonly runs from March to August but may extend beyond these months.
Before carrying out any trimming, inspect the hedge carefully for active nests. It is an offence to damage or destroy the nest of a wild bird while it is in use or being built. If you discover an active nest, delay work in the affected area until it is no longer in use.
Choosing a suitable time of year does not remove the need to check for nests before starting work.
2. Choose the Right Tools for the Hedge
The tools you use can affect the quality of the finish and how easily you can maintain the hedge.
For small hedges and light growth, hand shears may be sufficient. Larger formal hedges are often easier to manage with a suitable powered hedge trimmer.
For branches that are too thick for a hedge trimmer, secateurs or loppers can provide a cleaner, more controlled cut.
Consider the type of hedge before choosing your equipment. Large-leaved evergreens, such as some laurels, can develop conspicuous brown edges when their leaves are cut across by hedge-trimmer blades. Using secateurs or loppers to make selected cuts can produce a neater finish, although it takes longer.
Whatever tools you use, keep the blades clean, sharp and in good working order. This helps produce cleaner cuts and reduces the effort involved.
Safety matters too. Wear suitable gloves and eye protection, keep other people away from the working area and follow the manufacturer's instructions for powered equipment. Avoid stretching from ladders or cutting beyond a comfortable reach. Tall hedges and difficult access are often best left to a professional.
3. Trim Your Hedge to Encourage Dense Growth
A common mistake is trimming a hedge purely to create a straight outline without considering how light reaches the lower branches.
For many formal hedges, a slightly tapered shape works well, with the base wider than the top. This allows more light to reach the lower foliage and helps reduce the risk of bare patches developing near ground level.
How to achieve a neat finish
Start by deciding on the intended height and width. If the hedge has a formal shape, use a suitable reference line to help maintain consistent sides and a straight top.
Trim gradually and step back regularly to assess the result. Removing too much growth in one pass can leave the hedge uneven, especially if growth varies along its length.
For a low hedge, relatively upright sides may be suitable. Taller hedges often benefit from slightly sloping sides so that the base receives enough light.
Avoid making a hedge narrower at the base than at the top. Over time, excessive shading of the lower branches can contribute to thinning and gaps.
Remember that trimming and substantial reduction are different tasks. Routine trimming removes relatively recent growth, while reducing an overgrown hedge may involve cutting into older wood. Not every species responds well to hard pruning, so check its requirements before attempting a major reduction.
4. Avoid Cutting Too Much Off at Once
If your hedge has grown beyond its intended height or width, it can be tempting to remove a large amount of growth in one session.
However, severe cutting can leave some hedges with bare branches that struggle to produce new growth. This is particularly important with many conifers, which may not regenerate reliably from old, bare wood.
Before reducing an overgrown hedge, identify the plant and understand how well it tolerates hard pruning. Some broadleaf evergreen hedges can be renovated successfully under suitable conditions, whereas others may need a more gradual approach or replacement.
If the hedge has become substantially wider or taller over several years, consider whether it should be reduced in stages. This can help preserve useful growth while bringing the hedge back towards a manageable size.
Where a hedge is very tall, badly overgrown or has extensive bare sections, professional advice may help establish whether renovation is realistic.
5. Water and Feed Your Hedge When Necessary
Established hedges generally need less attention than newly planted ones, but they can still suffer when conditions are particularly dry or the soil is unsuitable.
New hedges are especially vulnerable during their establishment period. Their roots may not yet extend far enough into the soil to access moisture consistently, so regular checks are important after planting.
Watering
Check the soil around the roots rather than judging by the appearance of the leaves alone. If the root zone is becoming dry, water thoroughly, allowing moisture to reach the soil around the plants.
The frequency depends on the weather, soil type and plant maturity. Sandy soil may dry more quickly than heavier soil, while waterlogged ground requires a different response.
Avoid watering automatically without checking conditions, as persistently wet soil can also damage roots.
Mulching and feeding
A suitable organic mulch around the base can help conserve moisture, suppress weeds and improve soil conditions as it breaks down. Keep the mulch away from direct contact with the stems.
Established hedges do not necessarily need regular feeding. Where growth is poor, first check for other causes, such as drought, waterlogging, shade, overcrowding or unsuitable soil. Use fertiliser only when appropriate and follow the product instructions.
Good aftercare supports healthy growth, but it cannot compensate for conditions that are unsuitable for the hedge species.
6. Prevent Bare Patches and Uneven Growth
A hedge can look tidy immediately after trimming yet still become sparse or uneven over time.
Bare patches may develop because the top has been allowed to grow wider than the base, the hedge has been cut too deeply into old wood, or some sections receive less light than others.
Water stress, root competition and unsuitable growing conditions can also affect growth.
How to improve the appearance
First, work out why the hedge is thinning. If light is the main problem, maintaining a suitable tapered profile may help. If certain plants have died, they may need replacing rather than simply trimming around the gaps.
For small gaps, suitable replacement plants can sometimes be introduced, provided there is enough room and the remaining hedge is healthy. However, a new plant may take time to blend in with the established growth.
Avoid automatically feeding a thinning hedge more heavily. If the problem is caused by poor drainage, excessive shade or damaged roots, extra fertiliser will not necessarily help.
Where a hedge has become bare at the base, assess the species before deciding whether renovation, replacement planting or a different boundary solution would be most effective.
7. Keep the Base of the Hedge Clear
The area around the base can gradually become untidy as weeds, fallen leaves and competing plants accumulate.
Keeping this area under control can improve the appearance of the boundary and reduce competition for water and nutrients, particularly while a hedge is establishing.
Remove unwanted weeds carefully, especially around young plants whose roots may be damaged by aggressive hoeing or digging. Where appropriate, apply a suitable mulch to help suppress new weed growth and retain moisture.
Avoid piling soil or mulch against the stems, as this can create persistently damp conditions around the base.
It is also worth checking the ground for rubbish, fallen branches and other debris that could obstruct access or make regular maintenance more difficult.
A tidy base makes it easier to inspect the lower growth and identify problems before they become more serious.
8. Adapt Maintenance to Different Hedge Types
Not every hedge needs the same approach. Its species and intended appearance should determine how frequently it is trimmed and how much growth can safely be removed.
Hedge type | General maintenance approach |
|---|---|
Privet | Often responds well to regular trimming during the growing season |
Yew | Usually suits careful shaping; avoid cutting into old bare wood without checking the appropriate method |
Cherry laurel | Vigorous growth may need regular control; secateurs can help avoid visibly cut large leaves |
Portuguese laurel | Can be maintained as a formal hedge with suitable shaping and periodic trimming |
Beech and hornbeam | Timing affects seasonal appearance and wildlife value; the desired formal shape influences frequency |
Mixed native hedging | Often benefits from a more natural approach that considers flowering, berries and wildlife habitat |
These are general guidelines rather than fixed schedules. Hedge age, local growing conditions and the intended appearance all influence the work required.
If you are unsure which plants make up your hedge, identifying the species before pruning can help prevent avoidable damage.
9. Keep Your Hedge Manageable Throughout the Year
A well-maintained hedge is easier to look after when its height and width suit the property.
Allowing a fast-growing hedge to become too large can eventually make trimming difficult, particularly where access is restricted or branches extend towards a public path or neighbouring property.
Regular checks help you identify growth that needs attention before it becomes a larger job. The exact schedule depends on the species and desired finish, but it is useful to check the hedge periodically during the growing season and after periods of strong growth.
Consider how much maintenance you realistically want to undertake. A tightly clipped formal hedge may need more attention than a naturally shaped mixed hedge.
If the hedge repeatedly grows beyond the space available, you may need to consider a different maintenance approach, gradual reduction where suitable, or replacement with a more manageable species.
When Should You Consider Professional Hedge Maintenance?
Routine trimming may be manageable for a small, accessible hedge. Professional help can be useful when the hedge is tall, extensive or difficult to reach, or when it needs more substantial reduction.
A professional can also help identify whether the hedge is suitable for renovation, how much growth should be removed and what approach is likely to produce the best long-term result.
Before arranging work, check that the quotation explains what is included, such as trimming, shaping, cutting back sides, clearing clippings and removing green waste.
If the hedge is part of a wider garden renovation, maintenance can also be planned alongside new planting, fencing or landscaping so that the finished garden remains consistent and easy to manage.
Keep Your Garden Hedges Looking Their Best with Surrey Oak Landscapes
A healthy, well-shaped hedge can improve privacy, define garden boundaries and make the entire outdoor space look more organised. Regular trimming, suitable pruning techniques and appropriate aftercare can help prevent it from becoming overgrown or developing bare patches.
At Surrey Oak Landscapes, we provide garden maintenance, planting and landscaping services to help homeowners maintain attractive and practical outdoor spaces. Whether your hedges need routine trimming, more substantial attention or a wider garden tidy-up, the right approach starts with understanding the plants and the condition of the garden.
Need help maintaining your garden hedges? Contact Surrey Oak Landscapes for a free, no-obligation quote.
About the author